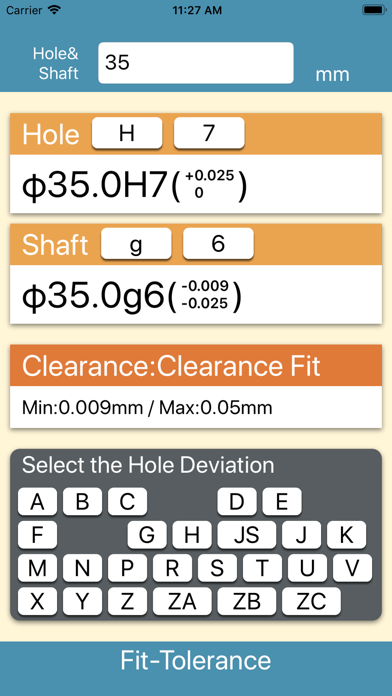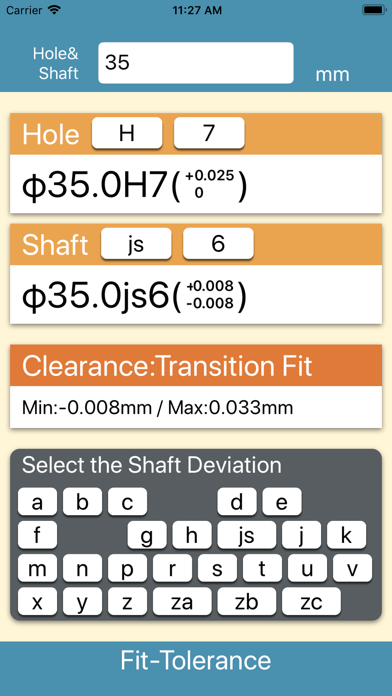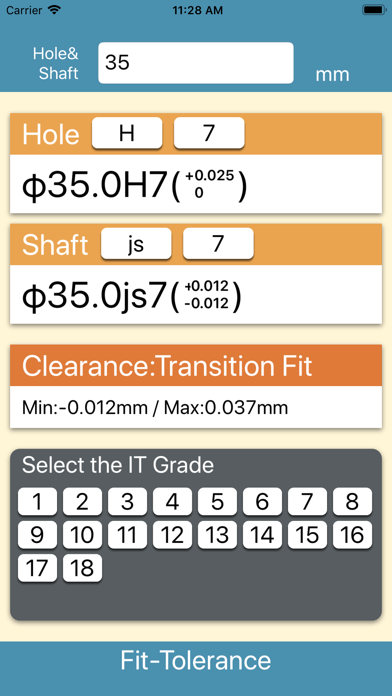
Fit Tolerance Calculator
The Fit Tolerance Calculator application calculates the fit tolerance of "hole" and "shaft" from the input diameter value. Fit tolerance is calculated based on ISO.
Simply enter the diameter value, select the tolerance range with the tolerance range button, select the tolerance class with the tolerance class button, and the fitting tolerance value of "hole" and "shaft" will be displayed.
In addition, from the combination of the selected hole and shaft, we distinguish the type of fit (clearance fit, transition fit, interference fit). Then, calculate the minimum clearance and the maximum clearance, in the case of clearance in plus, and in case of interference it is written minus.
Input diameter of 3150 mm or less is possible. However, the number of input digits is limited to 6 digits.
The corresponding tolerance range and tolerance grade are as follows.
【Tolerance of hole】
A, B, C, CD, D, E, EF, F, FG, G, H, JS, J, K, M, ZA, ZB, ZC
* Note 1) A and B holes are not used for standard dimension 1 mm or less.
* Note 2) JS 7 to JS 11 are rounded down to the decimal point so that IT / 2 becomes an integer of micrometer unit.
* Note 3) The tolerance grade of J hole is IT6 to IT8 only.
【Tolerance of shaft】
a, b, c, cd, d, e, ef, f, fg, g, h, js, j, k, m, n, p, r, s, t, u, v, x, za, zb, zc
* Note 4) The a and b shaft are not used for standard dimension 1 mm or less.
* Note 5) js 7 to js 11 are rounded down to the decimal point so that IT / 2 becomes an integer of micrometer unit.
* Note 6) The tolerance grade of the j shaft is IT5 to IT8 only.
【Tolerance Grade】
IT 1 to IT 18
* Note 7) The tolerance grades IT14 to IT18 are not applied to the standard dimension of 1 mm or less.
* Note 8) Tolerance values of tolerance grades IT1 to IT5 for reference dimension exceeding 500 mm are provisional for experimental use.


